
Growing hydrangeas from cuttings is a rewarding and cost-effective way to multiply these beautiful plants in your garden. With a few simple steps, you can enjoy more hydrangeas and even share them with friends and family. Let’s dive into the process of growing hydrangeas from cuttings, ensuring you get more blooms with ease.
Sanitize Your Pruners
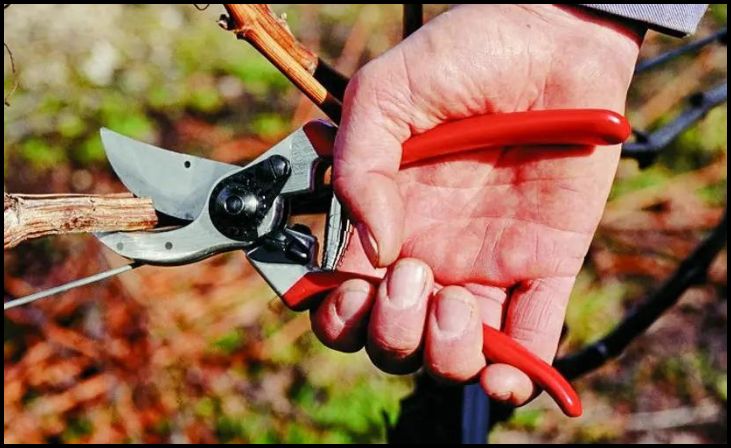
First things first, you need to sanitize your pruners. This step is crucial because it reduces the risk of transferring fungal diseases to your new plants. To sanitize your pruners, use rubbing alcohol on a cotton ball to clean the blades and handle thoroughly. This simple action ensures that your cutting process starts on a healthy note.
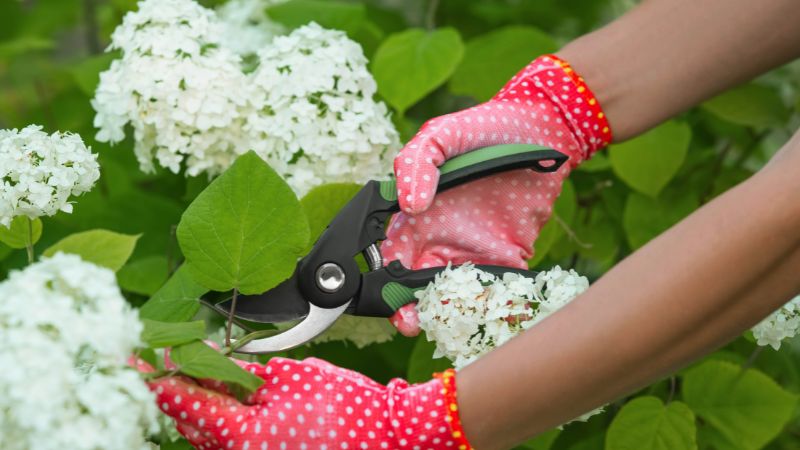
Take a Cutting From a Green Stem
Next, select a healthy branch from a mature hydrangea plant. Look for a green stem that hasn’t formed flower buds yet, as woody stems are less likely to root successfully. Cut about 2 inches below a leaf node, which is where the leaves attach to the stem. This is the optimal spot to encourage root growth.
Trim Leaves From the Cutting
After taking your cutting, it’s time to trim the leaves. Remove the lower leaves, leaving only the top two to four leaves intact. To reduce moisture loss, trim half of each remaining upper leaf. This step is important because it helps the cutting conserve energy while focusing on root development.
Dip the Stem Into Rooting Powder
While this step is optional, it is highly recommended to dip the cut end of the stem into rooting hormone powder. Rooting hormone increases the chances of successful rooting by stimulating root growth. If you don’t have rooting powder, don’t worry—your cuttings can still root without it, though the success rate might be slightly lower.
Prepare a Pot
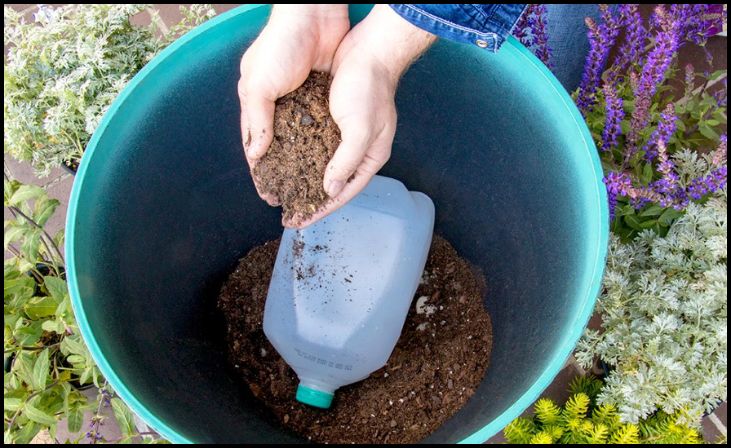
Now, prepare a pot of the appropriate size for your cutting. Fill it with seed-starting potting mix, which is light and well-draining, perfect for young plants. Moisten the mix thoroughly before planting your cutting. The right potting mix and moisture level are essential for the cutting to thrive.
Plant the Cutting
Insert the cutting into the potting mix up to the base of the remaining leaves. Firmly pack the mix around the stem to provide support. Keep the soil consistently moist but not waterlogged. This balance is key to encouraging root growth without causing rot.
Monitor and Maintain
Place the potted cutting in a location with bright, indirect light. Direct sunlight can be too harsh for the young cutting. Regularly check the moisture level of the potting mix, keeping it moist but not soggy. Within a few weeks, you should start to see signs of new growth, indicating successful rooting.
Transplant Into the Garden
Once your cutting has developed a healthy root system, it’s time to transplant it into the garden. Follow spacing guidelines specific to the variety of hydrangea you’re growing. Proper spacing ensures good air circulation and reduces the risk of disease. Provide the transplanted hydrangea with regular water and care to encourage healthy growth and flowering.